
How I Cook Chili Garlic Oil and It Makes Everything Taste Delicious
Since I discovered that chili garlic oil makes food taste better, I have never stopped cooking it, but chili was super expensive a few years ago. It went trending, and people were making memes about it, and that's when my brother decided to buy one. He told us that chilis are super cheap, and then that time I was craving chili garlic oil and of course my family too so my mom ask me to make on, because buying the ready made is much more expensive and little. My spicy tolerance got better after this, which is good news LOL.
Ingredients and Materials I Used:

- 1 kg Chilis (Siling Labuyo)
- 15 bulb Garlic
- 4 Red Onion
- 5 Cups of Coconut Oil
- half tbsp Ground Pepper
- 5 tbsp of Oyster Sauce
- 5 tbsp of Soy Sauce
- 2 tbsp of Umami Seasoning/ Magic Sarap
- 3 tbsp White Vinegar
- 2 tbsp of Brown Sugar
- 1 tbsp Salt
- Plastic Gloves
- Food Processor
Prepping the Ingredients:


I remove all the stacks from all the chili and make sure to wear plastic gloves, we don't want a spicy finger after LOL.


After that, I start peeling off garlic and onion. This part made me die after, but it is worth it.


After that, I process chilies. Make sure not to inhale the fumes of the chili. LOL, tried and tested, haha.


Prepping done!!!
Let's Cook!


After that, I started cooking the chilis for 5 minutes.


Next, I added half a tablespoon of ground pepper


Then I added 5 tablespoons of soy sauce.


To balance the saltiness, I added 2 tablespoon of brown sugar and salt.


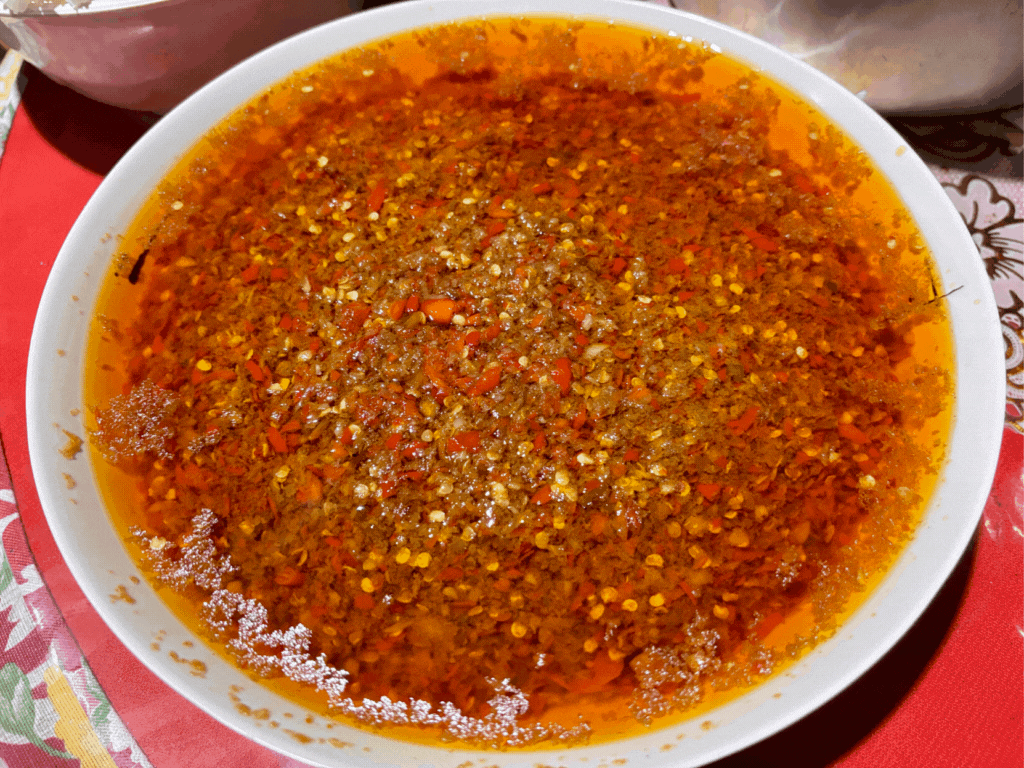
Let it cook on low heat for 20 minutes. Then, I transfer it to a bowl to cool down.

After that, I transfer it to glass bottle containers. Chili garlic oil is ready to eat! Perfect for siomai, fried egg, and everything, LOL.

Comments (26)
No comments yet. Be the first to share your thoughts.